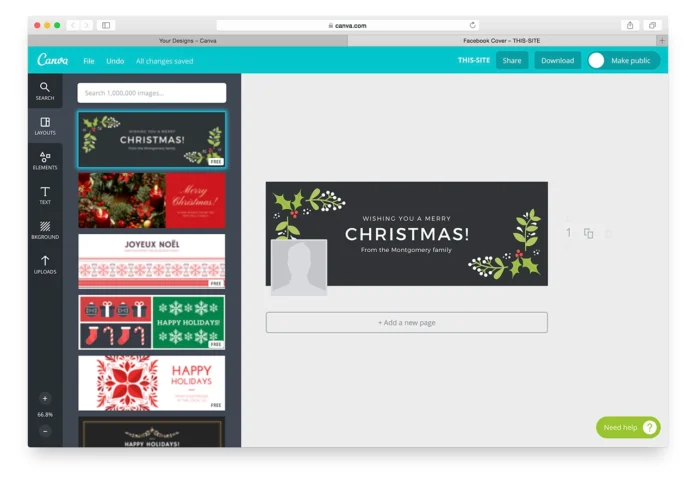
With 1.8 Billion users YouTube has become one of the top choices of businesses, individuals and influencers to promote themselves using videos. In this tutorial, you will learn to create thumbnails (that every YouTube video needs) using the inbuilt Canva Youtube thumbnail templates.
Thumbnail images are the first images that you see of videos when browsing YouTube. They are the first thing that your viewer will see and create a judgement about your content to decide if he should watch it or not.
YouTube thumbnails are extremely important to your video’s success as no matter how good your content is you need an equally good thumbnail to make your audience want to watch it. Hence in order to grab the required attention, you must design them to compel your viewer to click.
We all know that a captivating image entices us, whereas a dull image repels us.
While uploading a video, YouTube will provide you with options to set a frame from your uploaded video; however, pause for a moment and rewind your thought; is it enticing enough to freeze your audience? and if it’s not then here we will guide you how to create youtube thumbnails to attract viewers attention in Canva.
Canva allows you to choose whatever frame best represents your video and is most compelling to potential viewers. However, it also enables you to insert titles and text to make your presentation more attractive and professional.
In this blog, we will guide you on creating an attractive canva youtube thumbnail. After all, it is eyes that you seek on YouTube, as without them, your videos would fall further down the site’s search results.
Youtube Thumbnails Size Guide:
You should make your unique thumbnail image as large as feasible as it will be used as the player’s preview image. We recommend the following for your custom thumbnails:
- Have a 1280×720 resolution (with a minimum width of 640 pixels)
- Upload your picture in one of the following formats: JPG, GIF, or PNG.
- Maintain the size of less than 2 MB
- Consider using the 16:9 aspect ratio, the most common in YouTube players and previews.
YouTube Thumbnail Tips
Consider the following Thumbnail Tips while you create your thumbnails. These tips will help you out.
- You want to ensure that the text is readable and large.
- Use no more than 3-5 words in your thumbnail. Focus on keywords that will attract people to
- click.
- Avoid serif fonts, as they are more challenging to read, even on a small YouTube thumbnail.
- Make sure your text contrasts with the background to be read easily.
- Keep text to the left to ensure that it is visible. When you hover over your thumbnail, YouTube adds some icons on the right side.
Step-by-Step Guide to Creating YouTube Thumbnail Images with Canva
Step 1: Sign up:
To get started, sign up for a free or pro account.
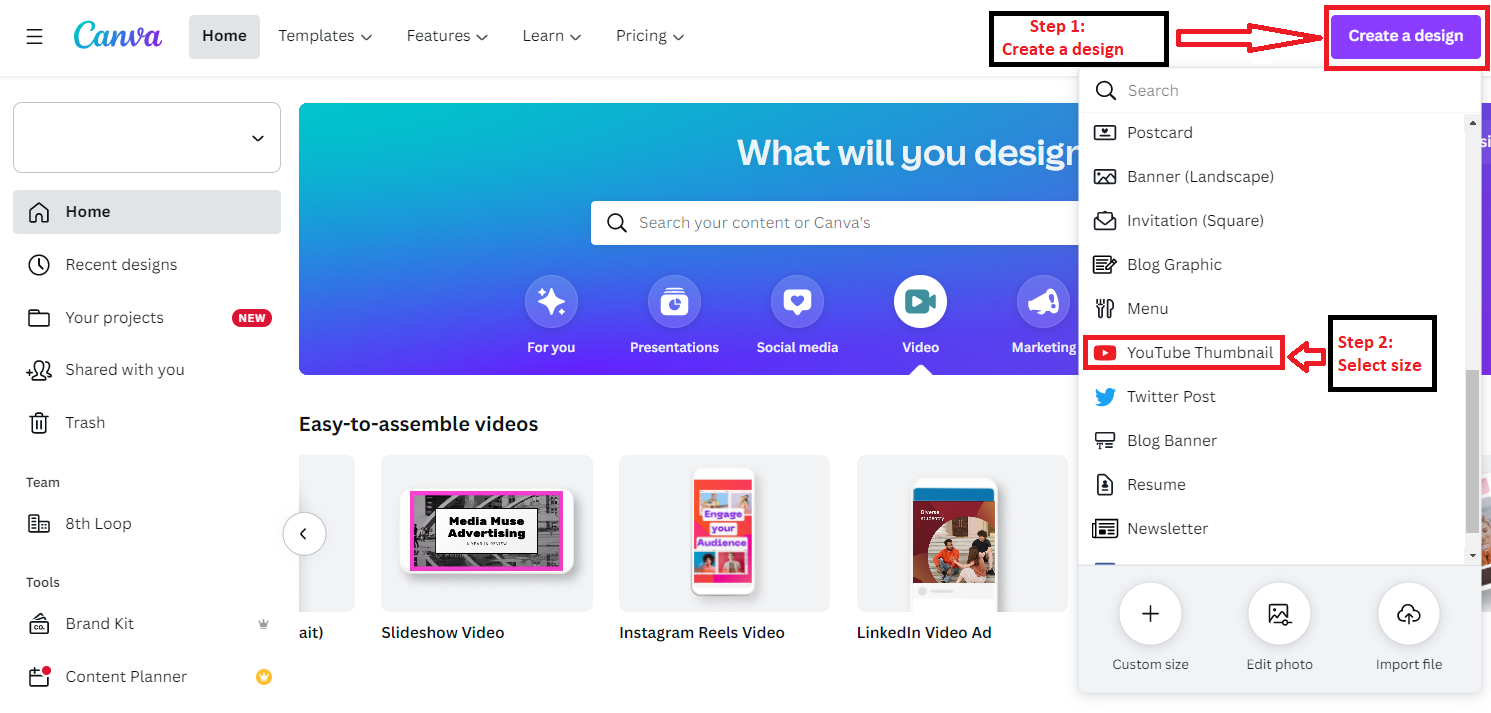
Now click on the Create a Design button on the left side of the screen. In addition to the \”Custom Proportions\” option, you can use the pre-existing YouTube thumbnail image template instead of manually entering the dimensions.
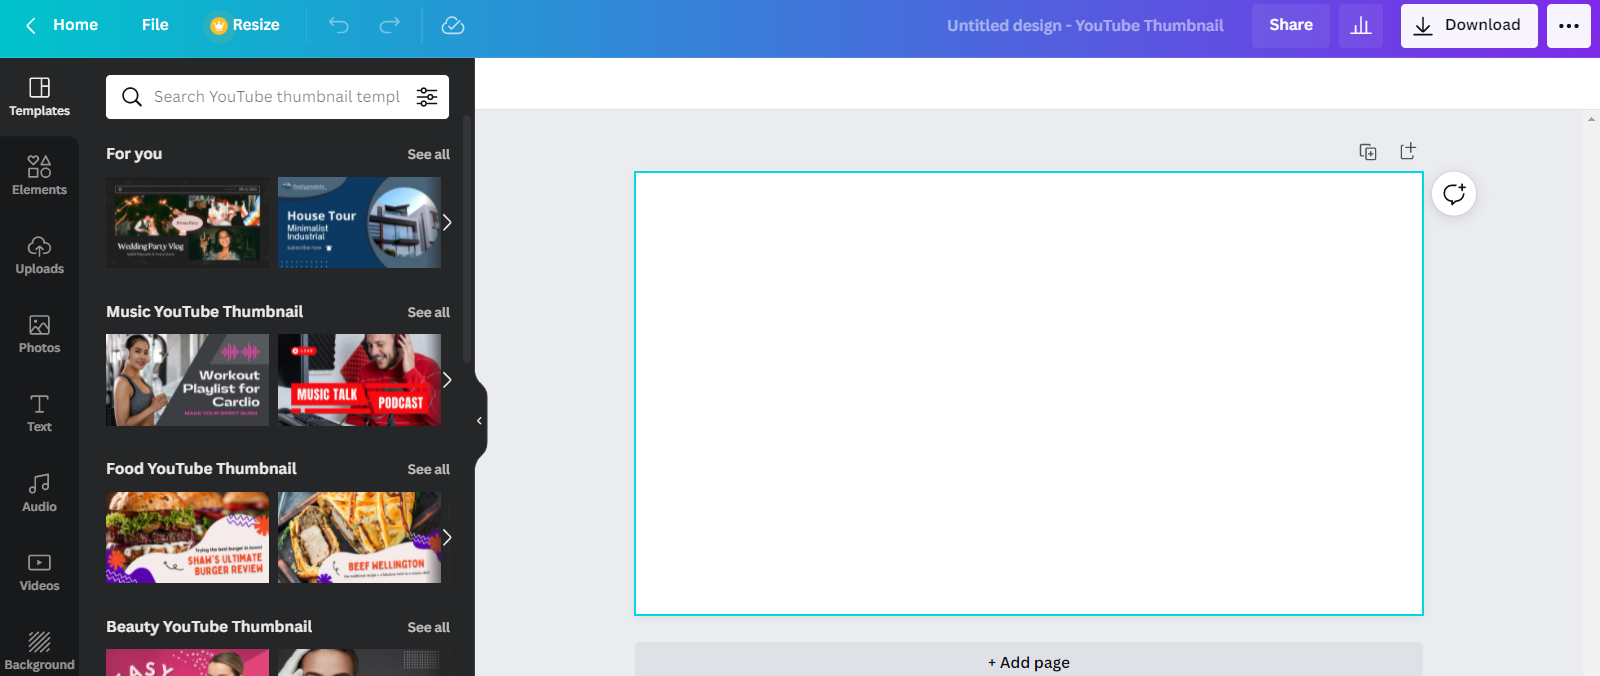
You’ll see a blank white page on the right when accessing the templates tab. As you can see from this image’s dimensions and aspect ratio, it’s just what you need for a YouTube thumbnail. It’s already at the right size, so you don’t have to worry about it anymore.
Step 2: Select YouTube Thumbnail Image Templates
On the left, you’ll find a long list of themed templates you can use as starting points, covering topics such as travel, beauty, how-to guides, food, and music. There are some excellent layouts and eye-catching fonts here that you can use to create a youtube thumbnail.
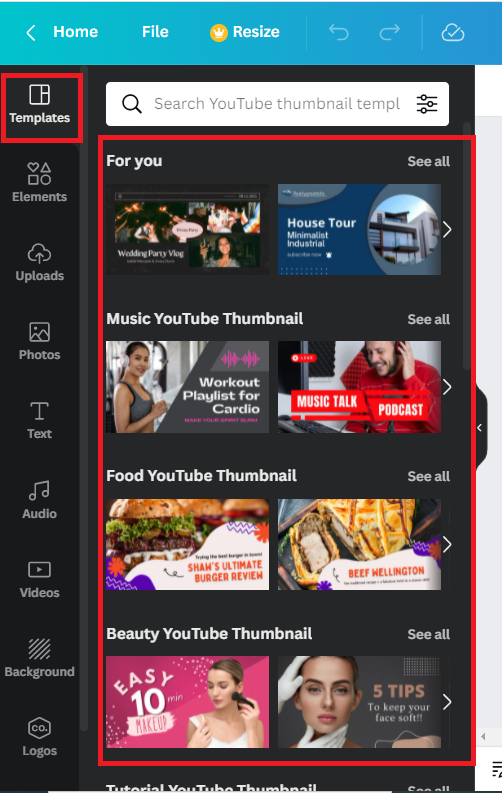
or you can select the templates by clicking on the link Free and customizable YouTube thumbnail templates | Canva
Step 3: Edit text or elements
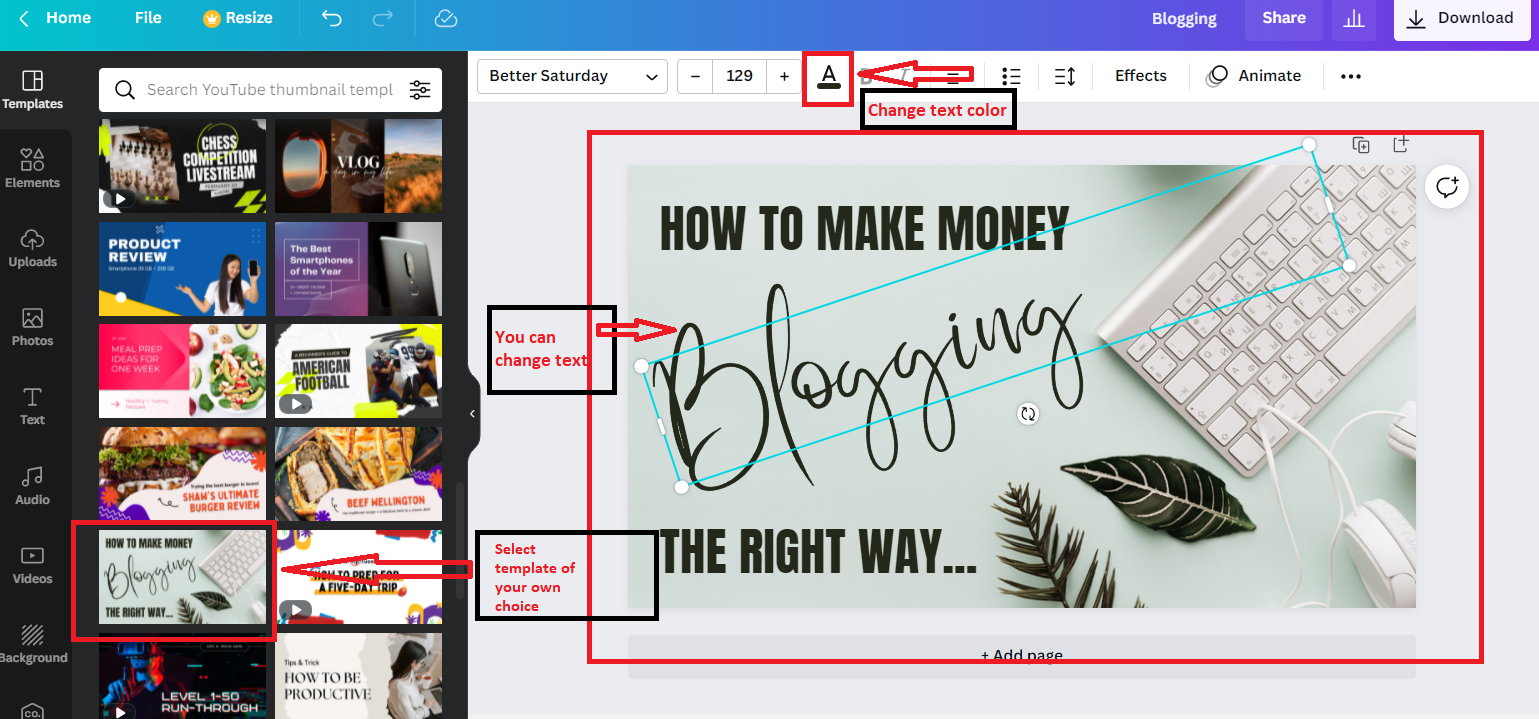
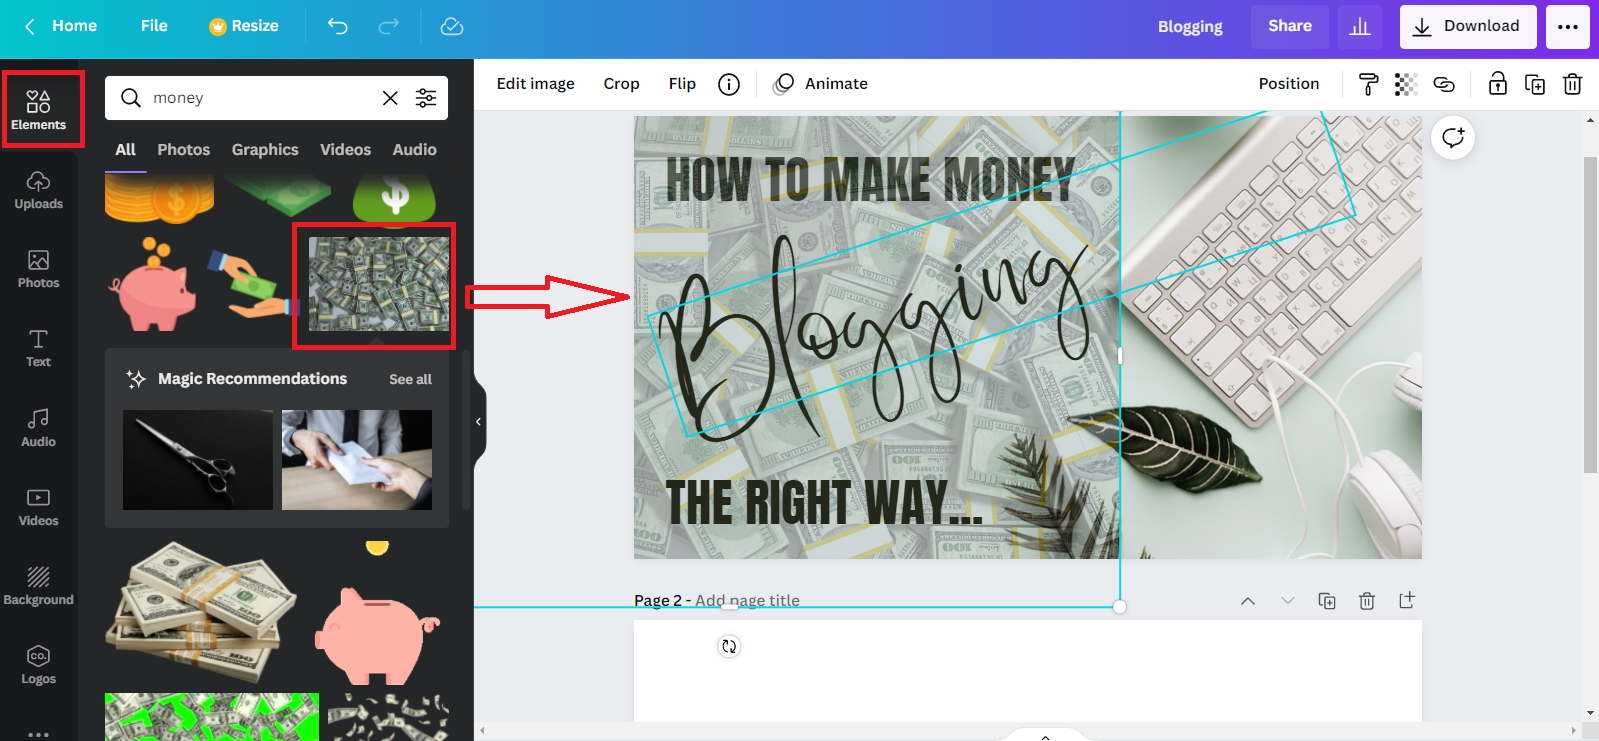
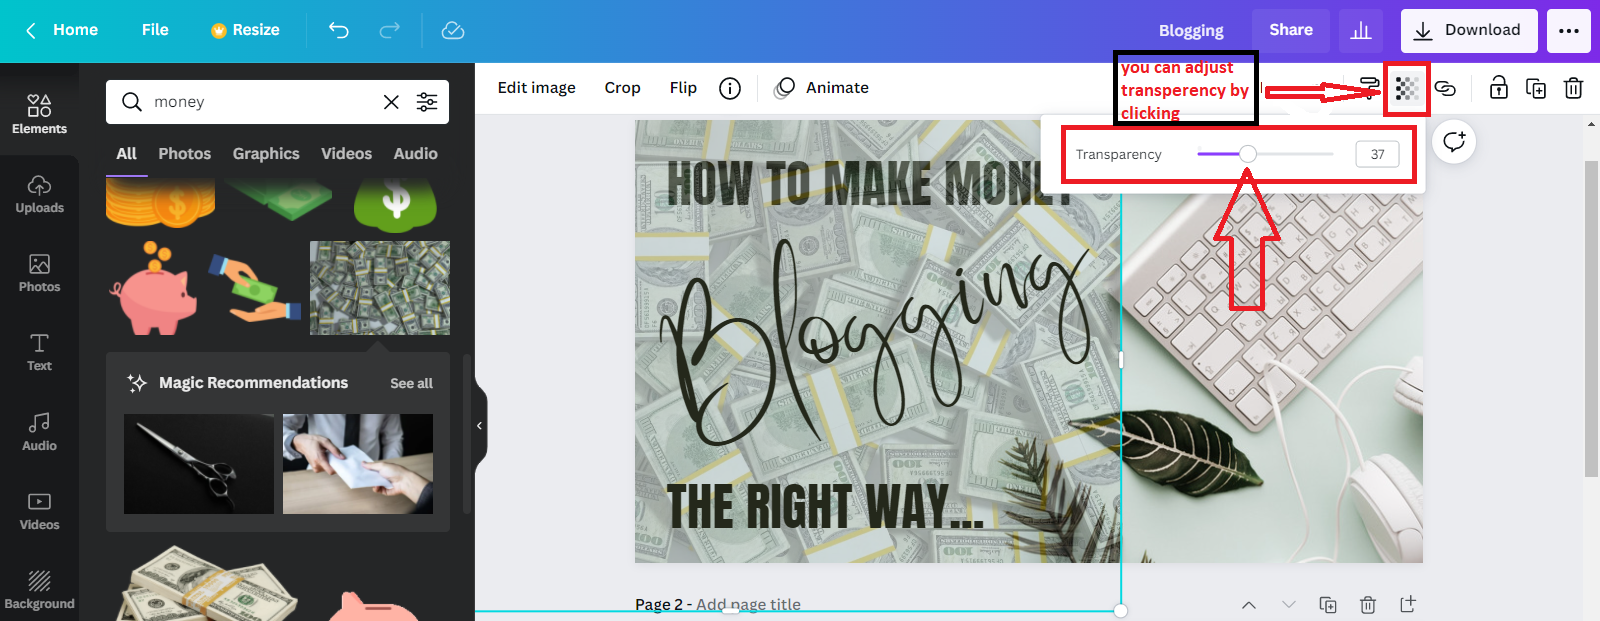
Choose a template that is similar to what you are looking for. You can also edit the text, reposition it, resize it, and make other changes to the fonts or colours you like.
Additionally, you can change elements by clicking elements in the toolbar.
Not just this, you can adjust the frequency of elements according to your background image. You can also upload your photos or elements to use on your thumbnails.
Step 4: Rename your project:
It starts with “YouTube Thumbnail – Untitled,” but giving it a name can save you from inevitably forgetting to do it later. It’s entirely optional, of course, but it makes it much easier to find later.
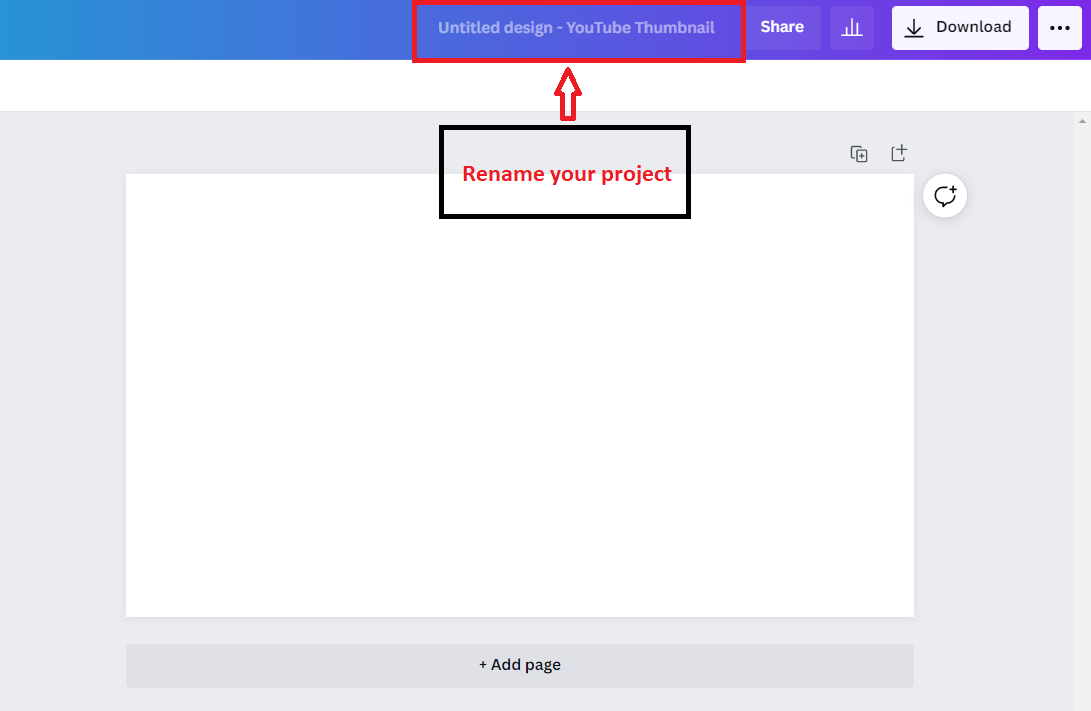
To change the name, click on the existing one. It will then give you a cursor to type in the new name.
Step 5: Download your Canva YouTube thumbnails
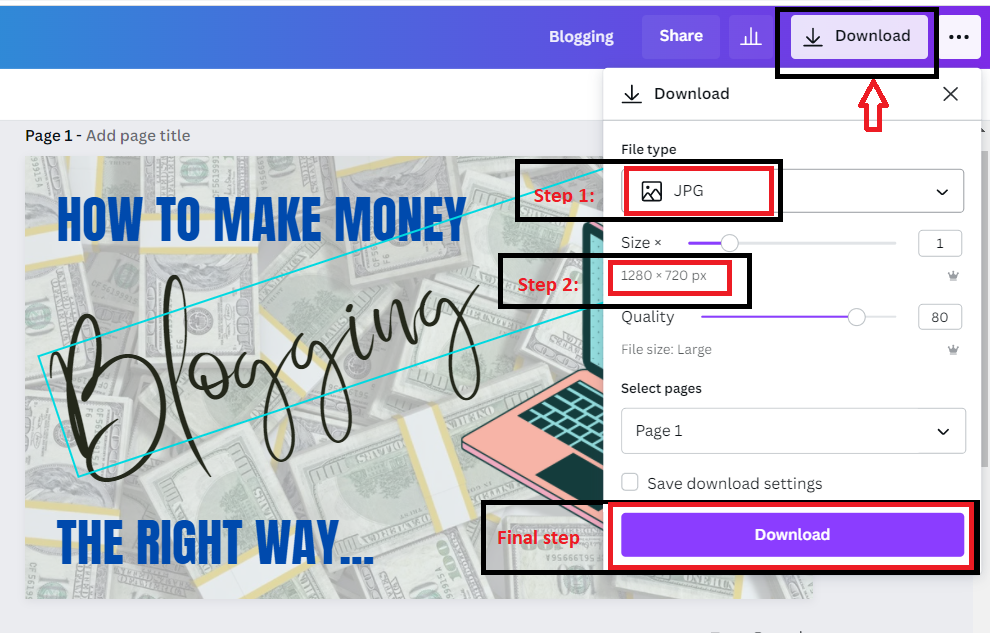
Once you are done with the editing, click on the Download button at the top right. Choose a file type for your download from the dropdown menu. Select the file type JPG or png. If you have a Pro account, you can change the size (the YouTube thumbnail size should already be 1280 x 720 px) and quality (i.e., amount of image compression).
Click download, and the file will be saved to your computer .Canva is an intuitive drag-and-drop platform, which means that even if you’re brand new to the tool, it becomes really easy to use after a few minutes of using but still if you want to learn more, you can learn from How to make Superscript in Canva: Quick Hack to Design Superscript Canva Infographic Tutorial & Guide for Blog and Small Business Owners.


